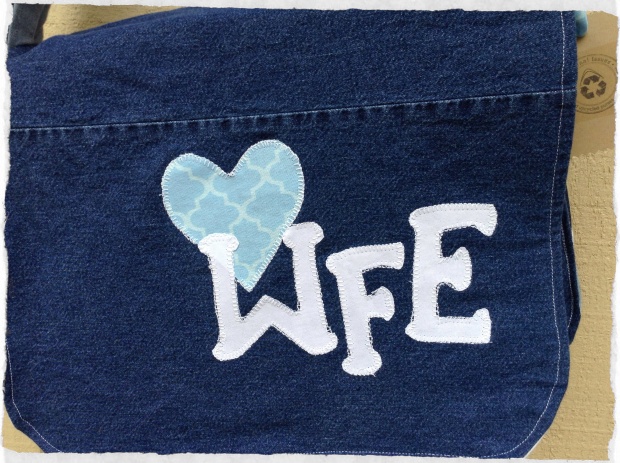
My kids have a Spring Fling fast approaching and I knew I wanted to contribute something to the silent auction. I wanted it to appeal to those who support their school so I came up with a simple messenger bag design that was small-ish in case a child was going to use it, as well as personalized to the school.
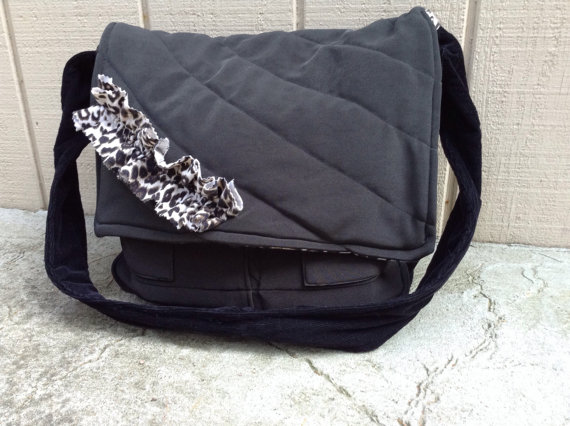
Working on this little project, it hit me how much my sewing has improved in the last year or so. This is first messenger bag that I upcycled over a year ago:
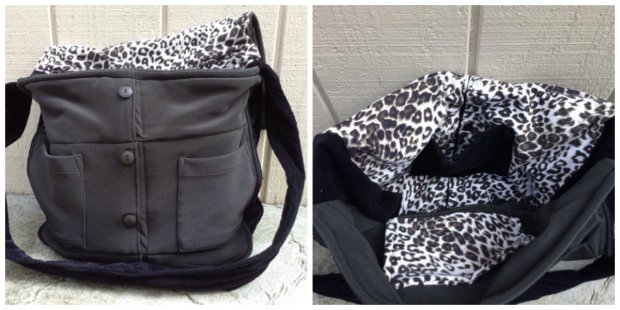
It’s cute…a forest green exterior from a skirt I had, corduroy strap, and a little leopard bling to even it out.
I think I used what I had to make it work…existing pockets and buttons for cuteness. I like this bag a lot but…
I think my overall design / sewing is growing, evolving and reflects a more confident sewer.
This is the bag for the silent auction. Let me show you some details.
First, messenger bags are quite simple to construct…YAY! The main body/flap, the front body, and the sides/bottom (which can double for the strap when you make it a smidge longer (about 22″-23″ on the fold instead of 18″)
The pieces are cut from the main fabric, the lining, and the interfacing and the interfacing is ironed onto the lining.
On my first messenger bag, I used batting for a quilted look. It works for the softer style of that bag, but I love the crisp look the interfacing gives to this new bag.
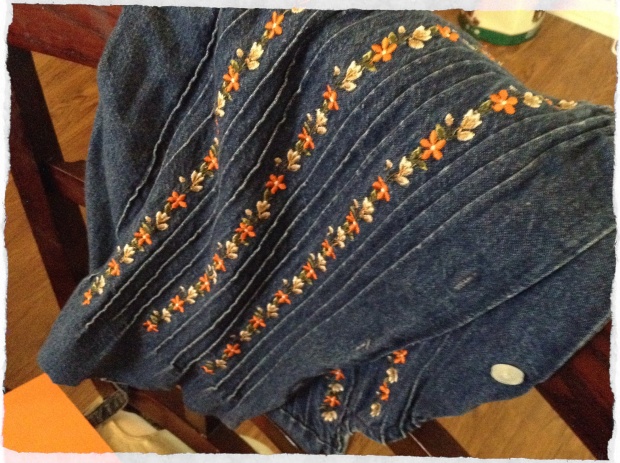
This was my “fabric” for this project. I can get by with a lot less of it than I did with that first bag because I know how to cut it now and waste far less fabric.
I then cut apart the shoulders to create the largest piece of fabric possible. I always check for the “right way” to cut it…trying out the “stretch” in both directions. With this denim, it didn’t really matter so I cut where it fit. On a skirt, I start with the biggest piece, keeping in mind that I need long pieces (for the sides/bottom/strap) so I scoot the big piece as high up from the hem as possible.
When you cut the straps/bottom/sides, sometimes you just have to cut the lengths you can and then stitch them together. I had to do that here. I think the seams give the strap character. 🙂
I actually measured these pockets…first time for everything! I wanted the one on the left to hold pencils and the other needed a flap. Pockets like this are actually double the size of what you see because you will fold them, stitch right side to right side with a hole, turn them and top-stitch them.
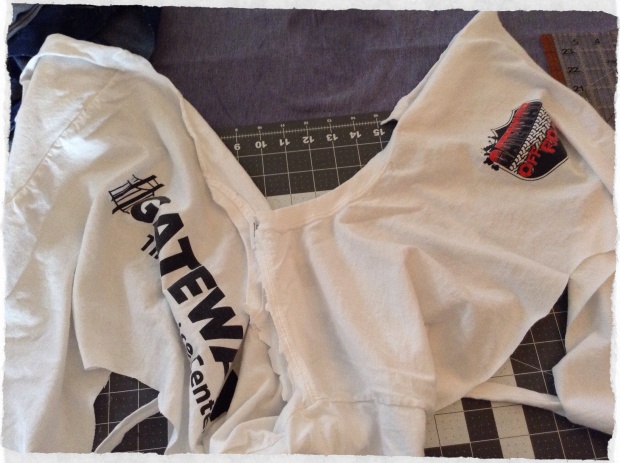
So, why t-shirts? Well, I needed white for the school colors and I had no white items left except a paper bag of old t-shirts. Now, a lesson for me in t-shirts…they stretch and do weird things. They are knits and they can drive you crazy EXCEPT…when they are ironed to interfacing! In this case the t-shirts worked beautifully! The only issue was to have a few spares. You can’t get a ton of fabric from a t-shirt with a lot of writing on it.
Here’s another little secret of mine. I’m careful with my interfacing. I save all my scraps and use them wisely. The two main pieces in the bag used new interfacing cut from my big stash. The bottom/sides piece used some left over fusible fleece that needed to be pieced together. Then, for the strap, I used batting. I like soft straps and I had a great, long piece left over! Be creative!
Before assembly of the purse, I added my pockets to the front piece of the bag.
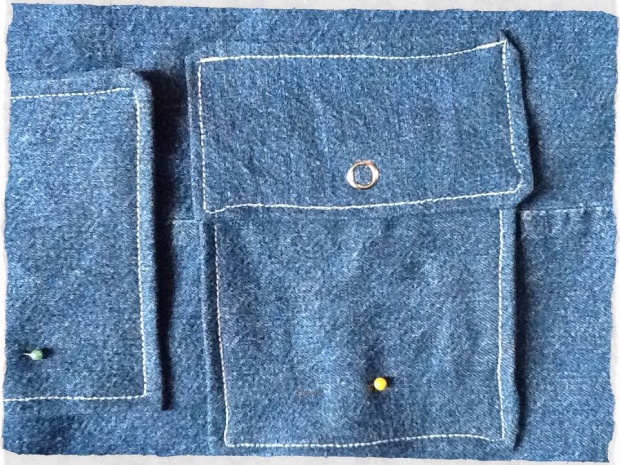
I pinned them in place and sewed the top line of the flap. Notice the snap I added when you weren’t looking! 😉
Before assembling the front, I worked a little applique magic using a heart and the initials of the school. I always use HeatnBond Iron-on adhesive. I know you’re not supposed to sew it but I do anyway knowing I’ll have to clean sticky-crap off my needle when I’m finished.
I put this bag together the same way I constructed this clutch purse. I like the defined edges on a project like this. It doesn’t work for everything but this was a good project for it! Basically, you match right sides to right sides, stitch around leaving a hole, turn it and top stitch then assemble.
Assembly on this bad-boy can be a serious exercise in patience and if you’re not careful can also result in a few broken needles. Layers can be hard to get through especially with random seams from upcycled fabric but again, assemble with patience!
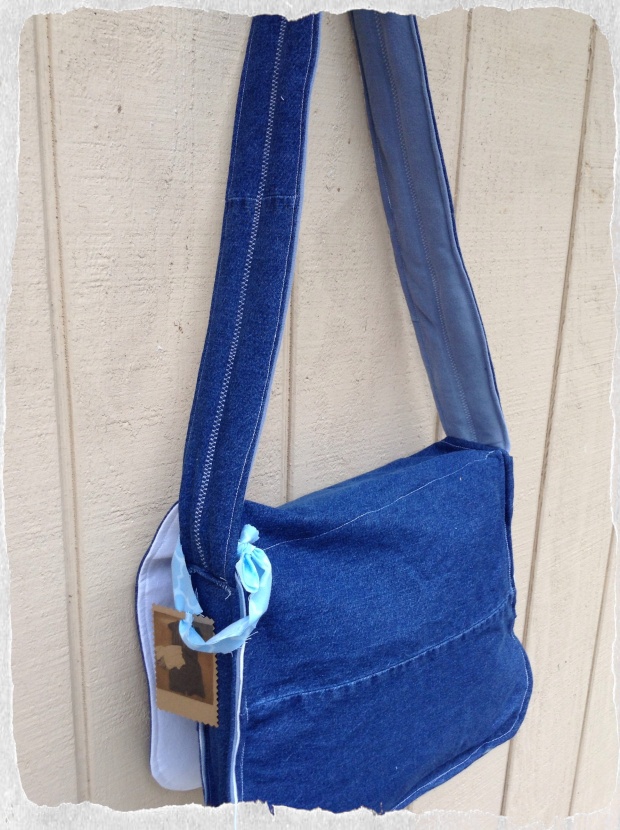
You can even see my new Pursenal Issues tag tied to the outside (there’s a tag inside as well!) Plus, a little detail stitching to the strap!
A fairly easy bag but a great result when you add in some unique details so find some great upcycled fabric and use your imagination!
Keep sewing, keep growing, keep experimenting, keep upcycling!
Go ahead…try it! Or, if you’d rather, buy it in your choice of colors and applique in the Pursenal Issues Etsy Shop!
As always, thanks for reading!


